So for the past 3 months here at CEDE in the EPFL we have been testing a small piece of software called Clip Exporter that can have a massive effect on the way we store and archive our footage. I have already written a more in-depth article on how we are using the software here. For this article I just wanted to give an update on whether Clip Exporter is still as good as we initially thought it was.
I have now completed the editing of a whole MOOC course implementing the extra steps with Clip Exporter. These extra steps do take time in the editing process and a slight adaptation in the way I edit my videos. Generally the first edit is only for eliminating superfluous footage like pauses, hesitation, bad takes etc. Then I export the XML from Final Cut and run the Clip Exporter software to separate all the clips. I import all these clips on a new time line in the same Final Cut project. Personally, I like to call this new timeline the ‘Light’ timeline so I can clearly see which version I am working on. It is only on this second edit that I apply effect and transitions as this information is not transferred with the XML file. This method has worked very well for me so far.
Whilst I am working on a MOOC project, which comprises of anywhere between 10 to 40+ videos, I don’t delete the original rushes just incase a teacher or presenter in the course wants to revert to a different take for a certain video. So in the rush folder for each video I will normally have the original rushes plus the ‘video’ folder with all of the clips from Clip Exporter. Once all of the videos have been validated and uploaded this means there are no more changes that are going to be made so at this point I can erase the original rushes. It is at this point I’ll reap the benefits of the Clip Exporter software. Here is the folder size information for the project I have just completed:
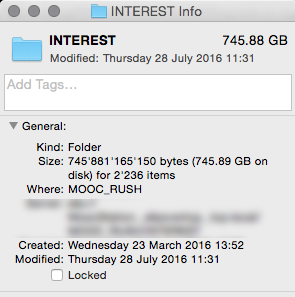
Here is project folder with all the original rushes plus the Clip Exporter clips.
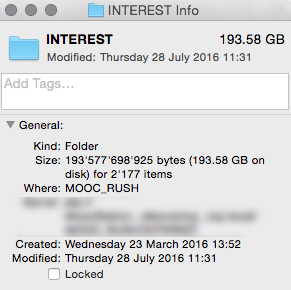
Here is the same folder once all of the original rushes have been deleted from the folder.
So to break down the numbers:
Total size on server = 745.88 Gb
Size of deleted rushes = 552.30 Gb
Size of Clip Exporter Clips left on Server = 193.58 Gb
Total space saved with Clip Exporter = 358.72 Gb
% of space saved with Clip Exporter = 64.95%
As you can see from the breakdown I can make considerable space savings in my projects by using this one little piece of software. So after a few months of using the software on live projects I can definitively say that it has met all my expectations for what we want to use the software for, space saving.
If I could develop something to make Clip Exporter more effective for the way we use it, I would develop a Final Cut Pro plugin to directly export the clips and create a new ‘Light’ timeline from Final Cut. Or a more sophisticated XML exporter that included effects and transitions (obviously this would only work for FCP to FCP projects), but this would be something for Apple to develop not the Clip Exporter team so I’m not holding my breath for that!


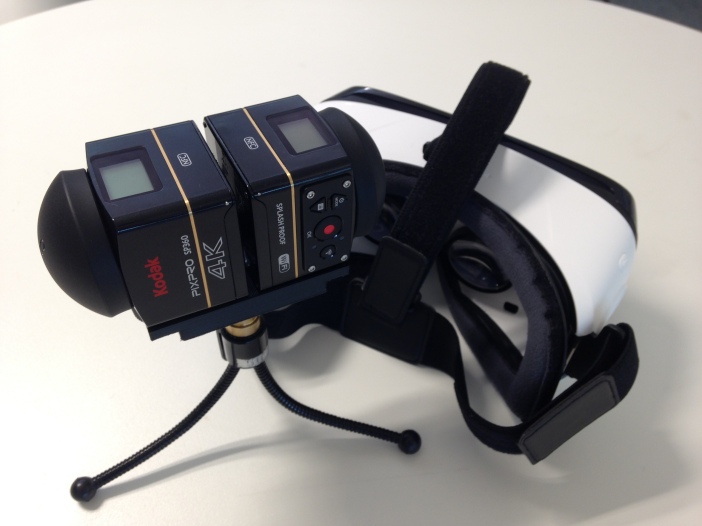 So 360 videos are now hitting the mainstream with devices like Google cardboard, Samsung VR Gear, the Oculus and the Vive. This has caused quite a stir in the office as we discuss the pros & cons, ins & outs and benefits and set backs of this new medium. We have all been thinking about how 360 videos can be applied to e-learning and weather its worth the effort. Some say its a gimmick others say its here to stay. Either way here at the MOOC Factory at the EPFL we put our heads together and started thinking how we were going to test it out to see if it is something we want to offer for our course makers. Over the next few posts we will document some of the videos we made, how we made them and what we thought about the gear, software and processes involved in 360 video making.